3. Creating Domains, Repositories, Data Sources
3.1 Creating Schemas using Repository Creation Utility
- Open command prompt on Unix and browse to <WL_HOME>/oracle_common/bin
and run ./rcu. The following window is displayed.
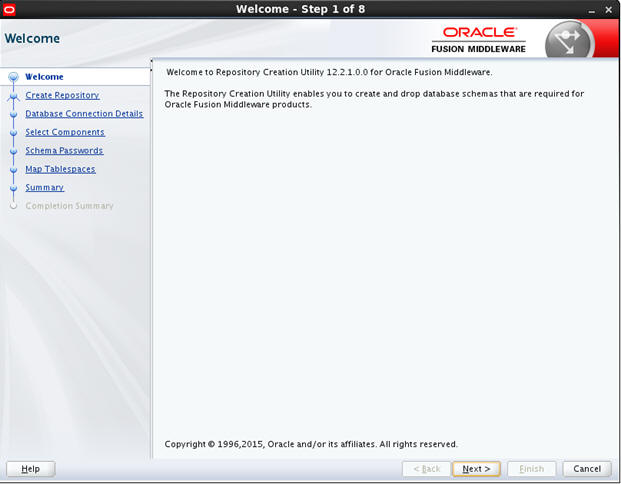
- Click ‘Next’.
The following window is displayed.
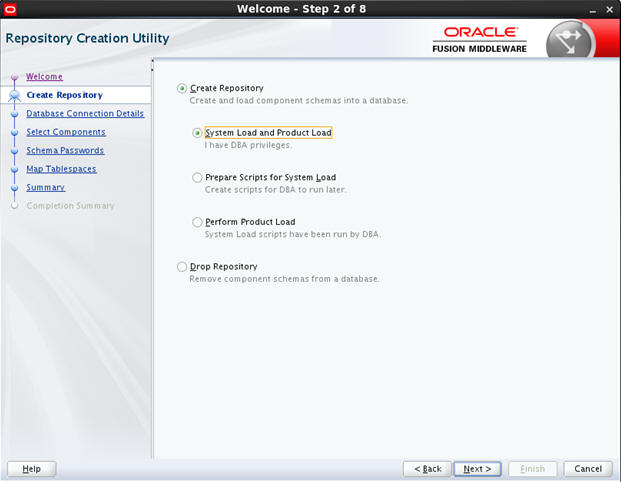
- Select ‘Create
Repository’ and select ‘System Load and Product Load’.
Click ‘Next’. The following screen is displayed.
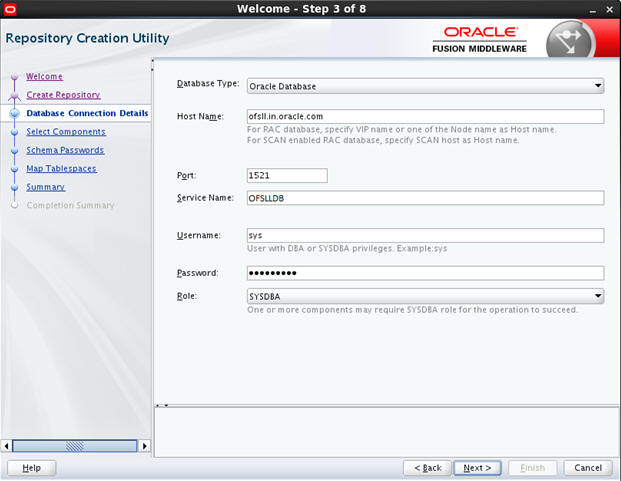
- Provide database details where you want to create schemas, as shown in the above screen.
Note
You will require a user with SYSDBA role to create schemas.
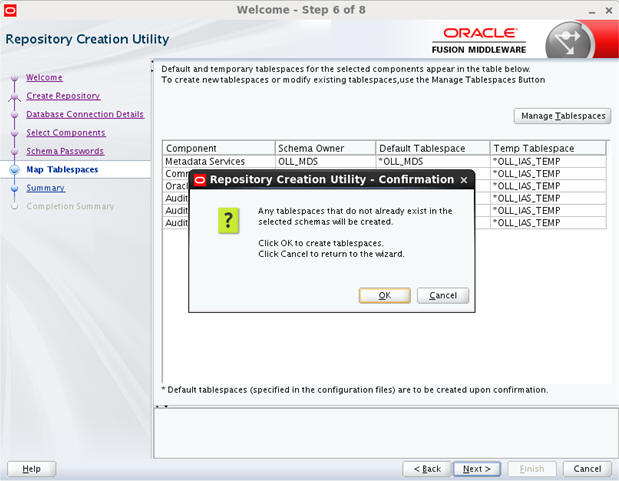
- Click ‘Next’. The following window is displayed.
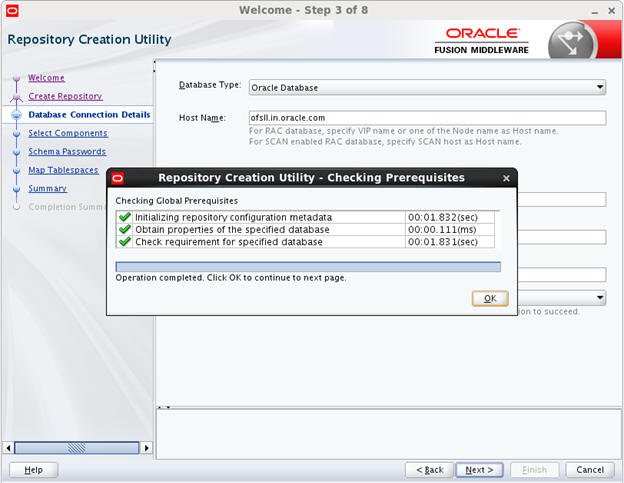
- Click ‘OK’ in the confirmation dialog.
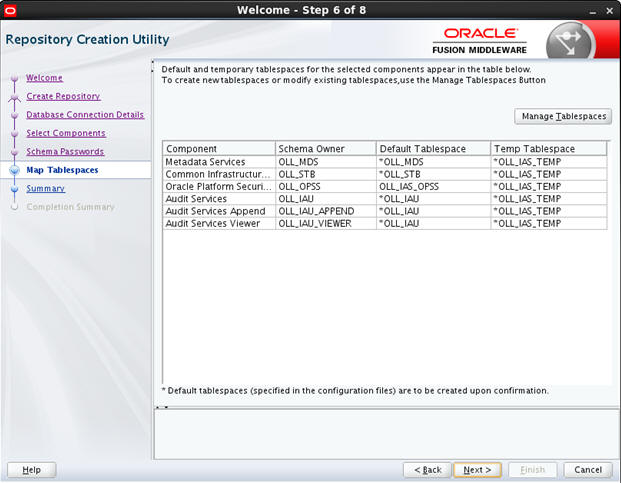
- Click ‘Next’ the following window is displayed.
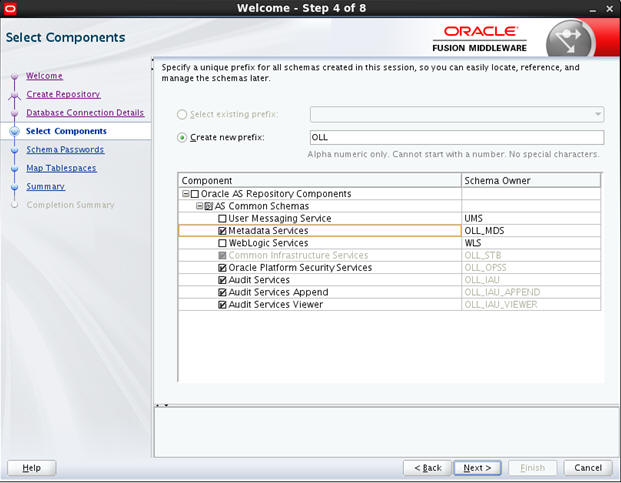
- Select ‘Create new Prefix’ option and specify the value. For example, OLL.
- Select the options ‘Metadata Services’ and
‘Oracle Platform Security Services’ as shown in the above
screen. Click ‘Next’. The following window is displayed.
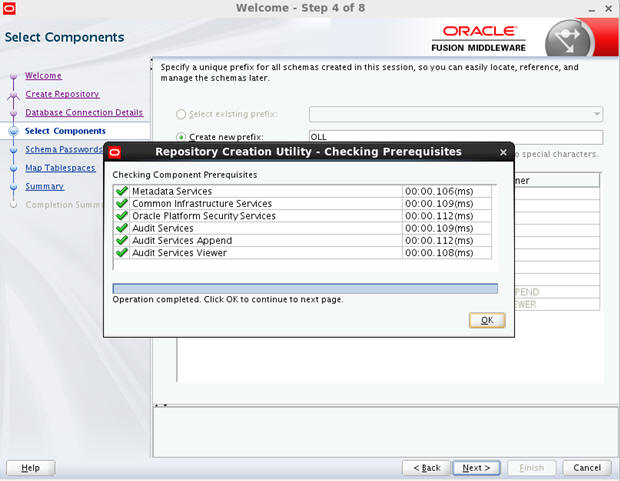
- Click ‘Next’.
The following window is displayed.
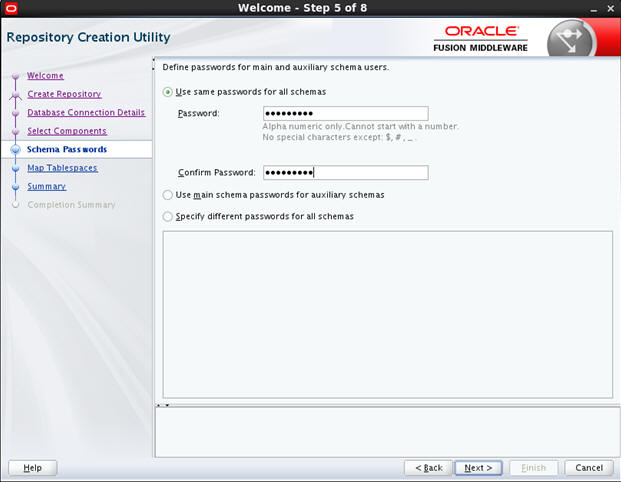
- You can select one of the following:
- Select ‘Use same password for all schemas’ and specify the password.
- Select ‘Specify different passwords for all schemas’ and specify Schema Passwords for each server.
- Click ‘Next’. The following window is displayed.
- Click ‘Next’.
The following window is displayed.
- Click ‘OK’
in the confirmation dialog. The following window is displayed.

- Click ‘OK’
in the confirmation dialog. The following window is displayed.
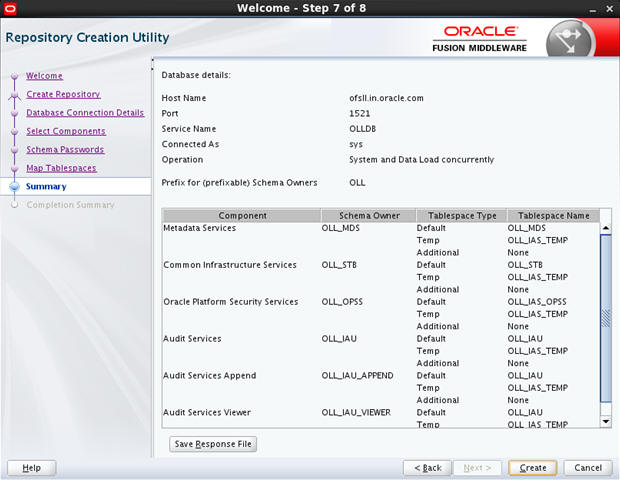
- Click ‘Create’.
The following windows are displayed.
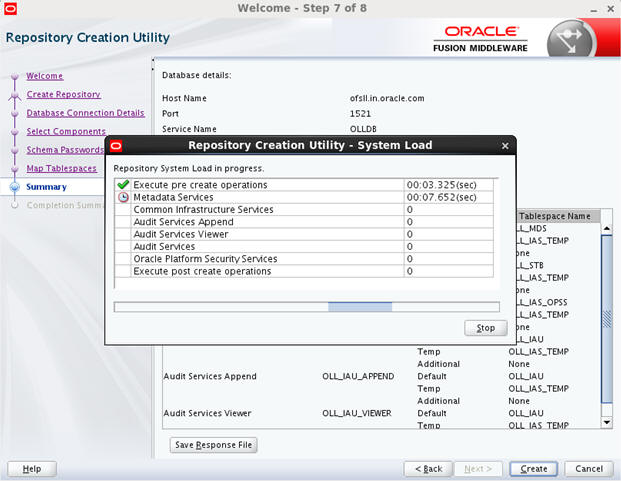
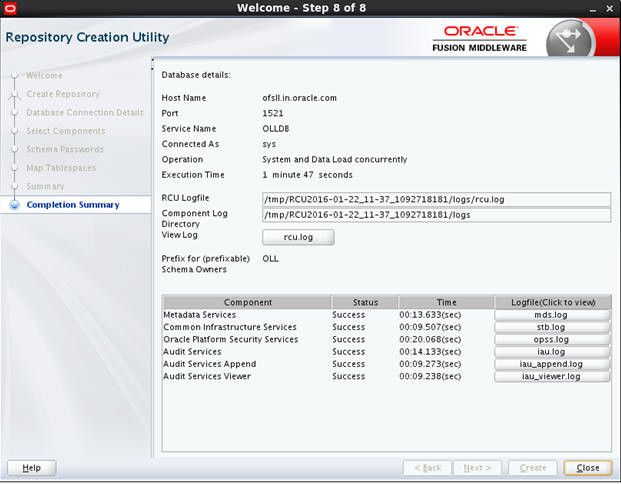
- Click ‘Close’ to close the window.
3.2 Creating Domain and Servers
- In Unix/Linux machine, once the Oracle WebLogic Server is installed, navigate to the following path - <WL_HOME>/wlserver/common/bin (Here, WL_HOME is /home/Oracle/Middleware).
- In Unix, run ‘config.sh’
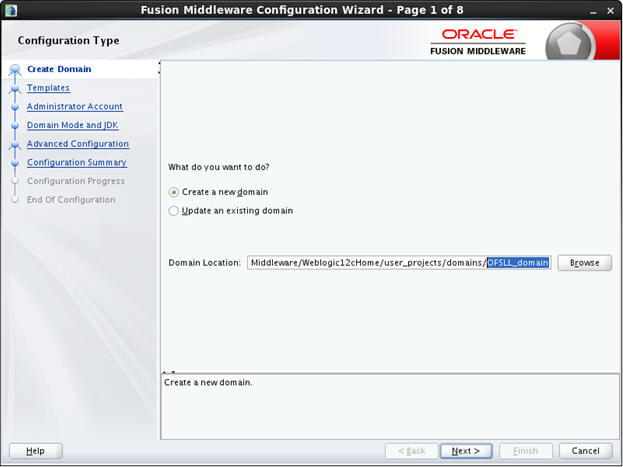
- Select ‘Create a new domain’ and specify the Domain Location.
- Click ‘Next’ to continue. The following window
is displayed.
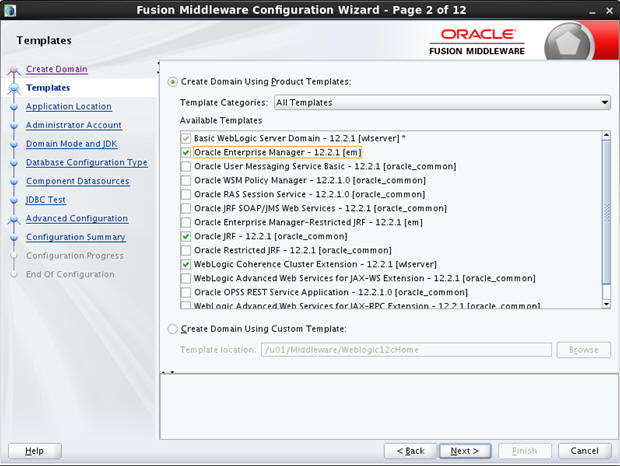
- Select the option ‘Create Domain Using Product Templates’ and select the following options in the list of available templates:
- Oracle Enterprise Manager - 12.2.1 [em]
- Oracle JRF - 12.2.1 [oracle_common]
- Click ‘Next’. The following window is displayed.
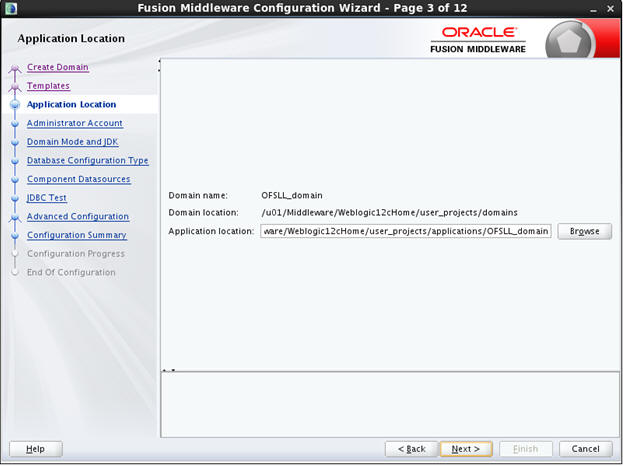
- Enter
‘Domain’ Name. Edit Domain Location, if needed and click
‘Next’. The following window is displayed.
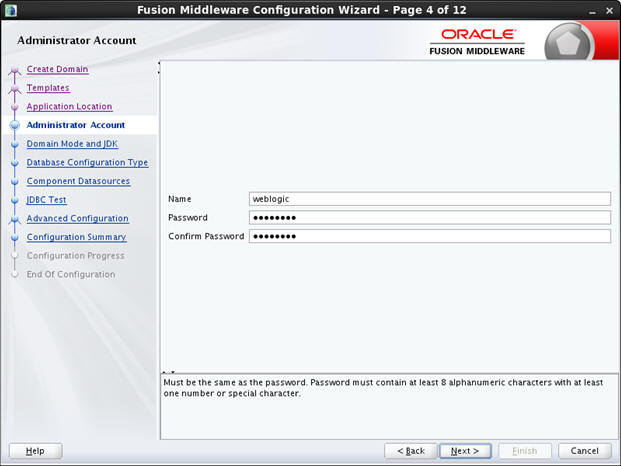
- Enter credentials for the following:
- Name
- Password
- Confirm Password
- Click ‘Next’. The following window is displayed.
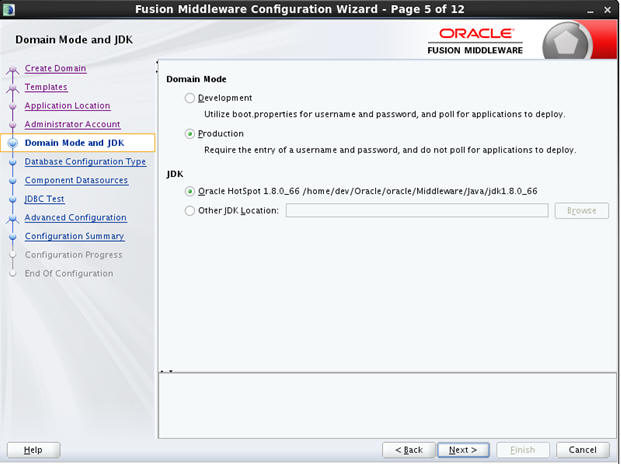
- Select the Domain Mode as ‘Production’ and ‘JDK’ from Available JDKs. You can also select any other JDK by selecting ‘Other JDK Location’ option.
- Click ‘Next’. The following window is displayed.

- Specify
the RCU data and click on ‘Get RCU Configuration’. The following
window is displayed.
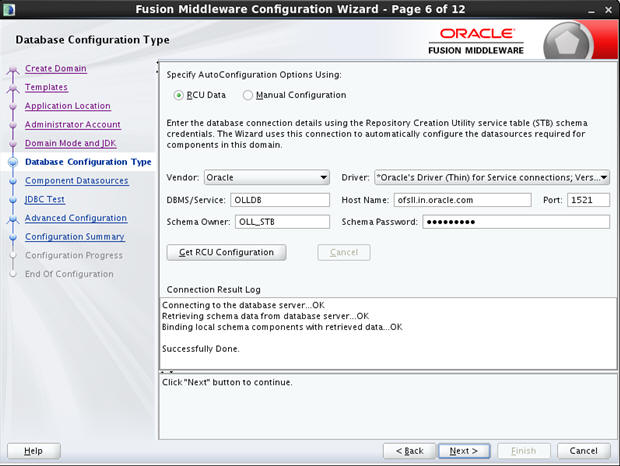
- Click
‘Next’. The following window is displayed.

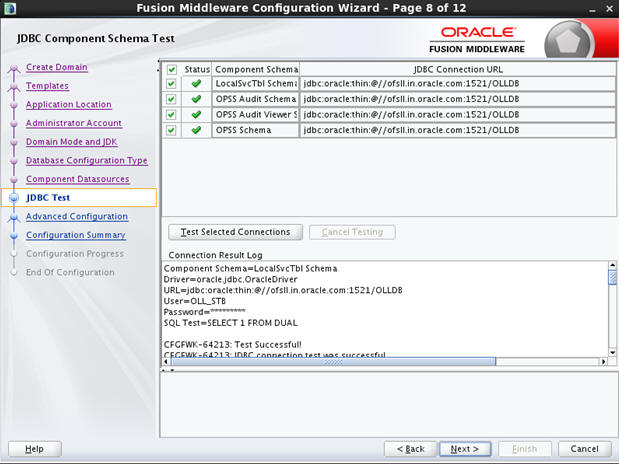
- .
Click ‘Next’. The following window is displayed.
- Click
‘Next’. The following window is displayed.
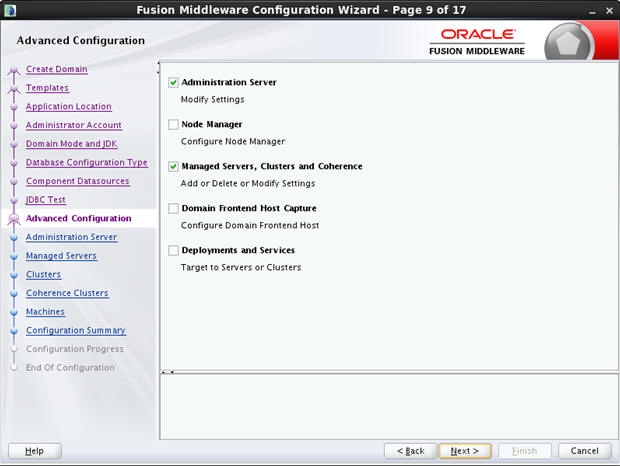
- Select
‘Administration Server’ and ‘Managed Servers, Clusters
and Machines’ and click Next. The following window is displayed.
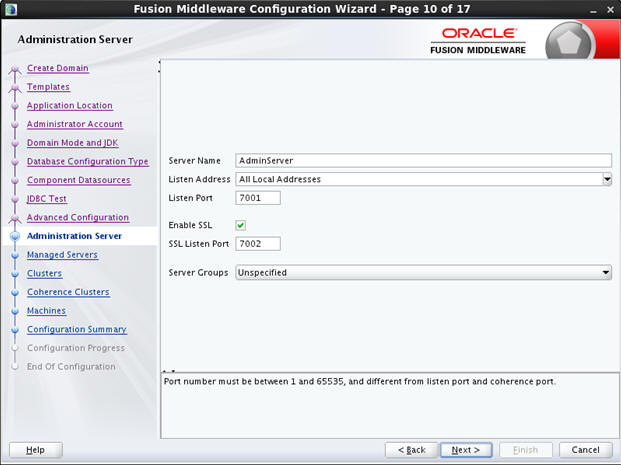
- Enter
Administration ‘Server Name’ and ‘Listen Port’
details. Check the SSL port and click ‘Next’. The following
window is displayed.
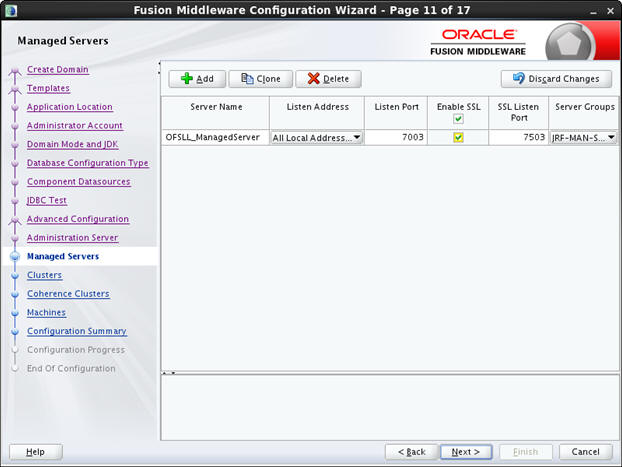
- Click
Add button. In the Configure Managed Servers window, enter ‘Name’
and ‘Listen Port’ details Check the SSL port and click ‘Next’.
The following window is displayed.
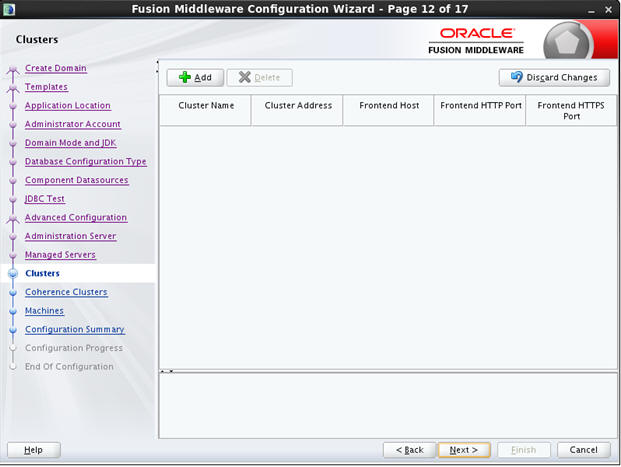
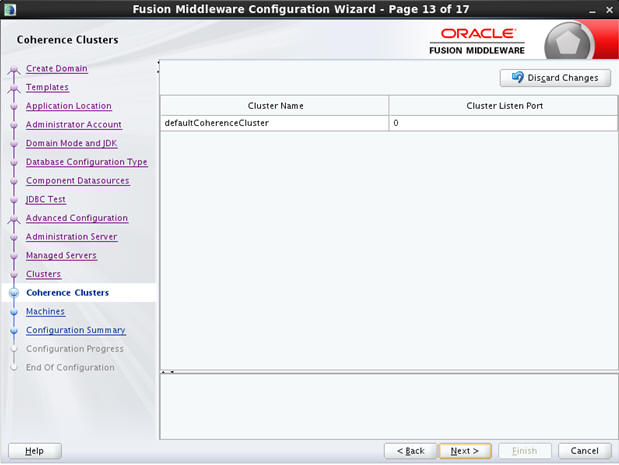
- Configure
as required and click ‘Next’. The following window is displayed.
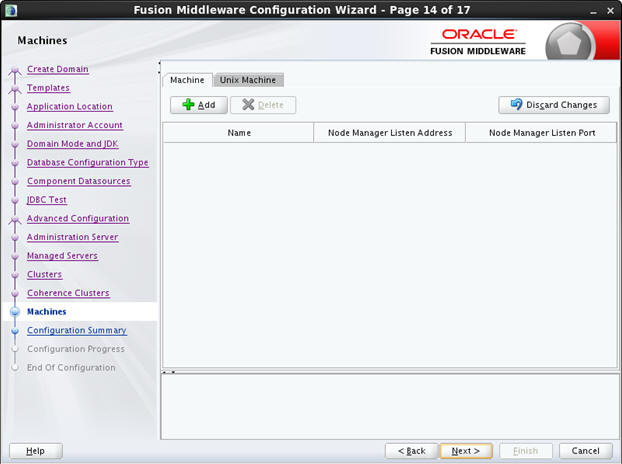
- Configure
as required and click ‘Next’. The following window is displayed.
- Configure
as required and click ‘Next’. The following window is displayed.
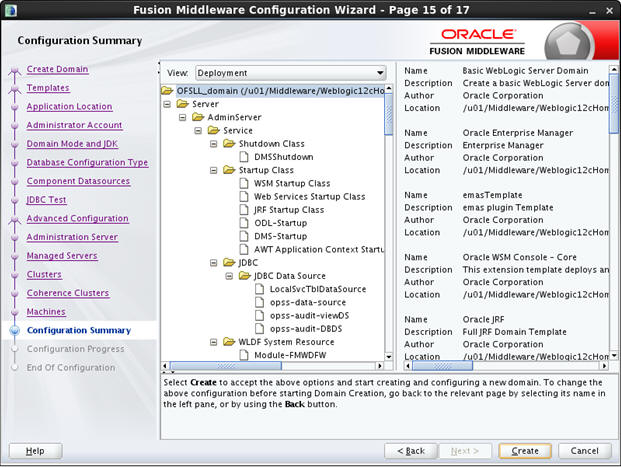
- Click
‘Create’. The following window is displayed.
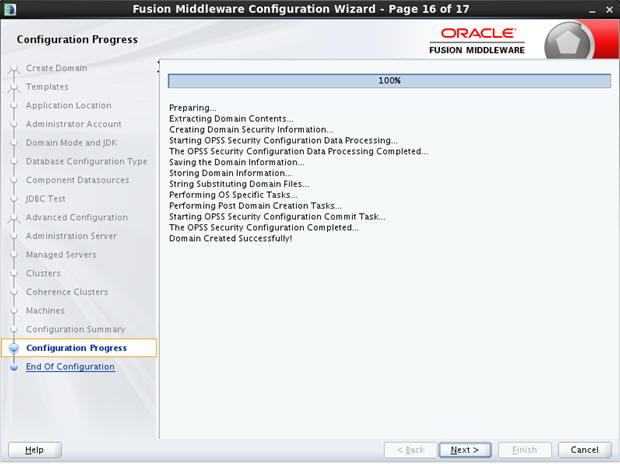
- Click
‘Next’. The following window is displayed.
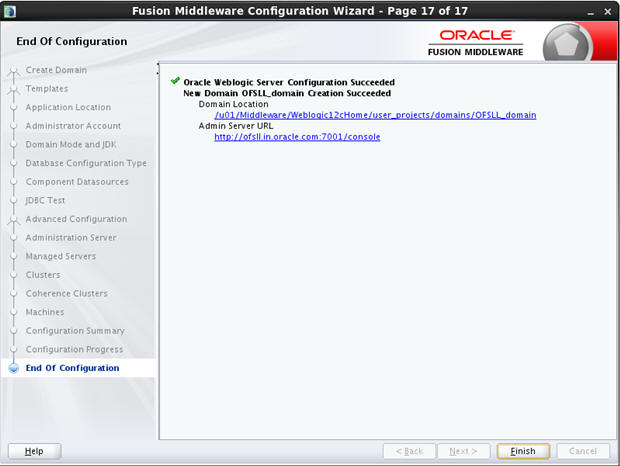
- Once the creation of the Domain is complete, click ‘Finish’ to close the window.
Note
The default Weblogic installation will be running JVM with 512MB, this has to be increased for the ADF managed server. Say, for a 2 CPU Quad Core with 16 GB it could have the JVM running at 8 GB as:
USER_MEM_ARGS="-Xms8192m –Xmx8192m -XX:PermSize=2048m -XX:MaxPermSize=2048m"
- The "$MW_HOME/user_projects/domains/<mydomain>" directory contains a script that can be used to start the Admin server.
- $ cd $MW_HOME/user_projects/domains/<mydomain>/bin
- $ ./startWebLogic.sh
If the server is required to be running and access to command line needs to be returned use "nohup" and "&"
$ nohup ./startWebLogic.sh &
- To Start Managed Server
- $ cd $MW_HOME/user_projects/domains/<mydomain>/bin
- $ ./$MW_HOME/user_projects/domains/<mydomain>/bin/startManagedWebLogic.sh {ManagedServer_name} {AdminServer URL}
If the server is required to be running and access to command line needs to be returned use "nohup" and "&".
$ nohup ./$MW_HOME/user_projects/domains/<mydomain>/bin/startManagedWebLogic.sh {ManagedServer_name} {AdminServer URL} &
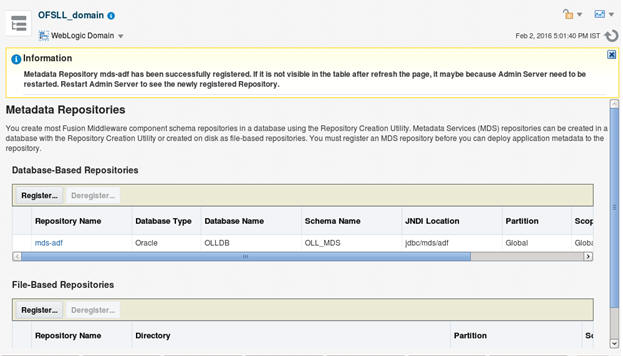
3.3 Creating Metadata Repository
Assuming that OLL_MDS schema is created using Oracle Repository Creation Utility (RCU) as mentioned in Creating Schemas using Repository Creation Utility section, follow the below steps to create the repository.
- Login to Oracle Enterprise Manager 12c console (http://hostname:port/em).
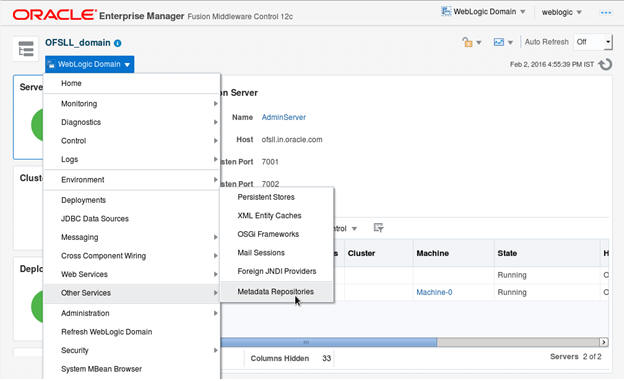
- Click on domain name OFSLL_domain on the left side panel.
- Expand Weblogic domain OFSLL_domain and click ‘Metadata Repositories’ option, as shown in the above screen.
- The following window is displayed.

- Click Register
button. The following window is displayed.
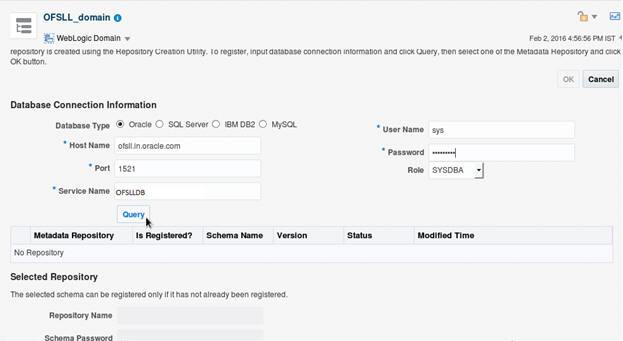
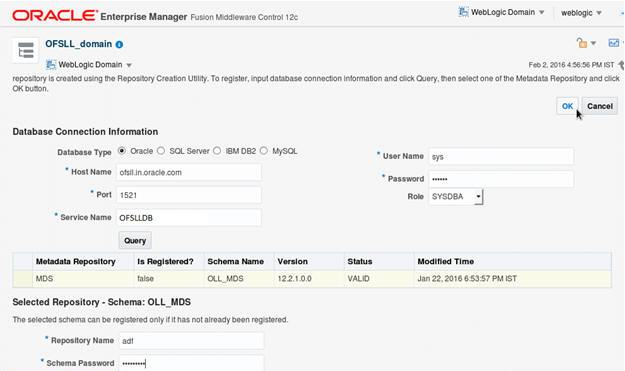
- Enter database instance details under Database Connection Information section and click ‘Query’. All available schemas in the given database instance are listed.
- Select the schema you require and in the Selected Repository – Schema OLL_MDS section, enter ‘Repository Name’ (adf) and the password.
- Click OK. The following window is displayed.
- Click Repository
name ‘mds-adf’ on left panel. You can even select it from
right panel.
- Click Add and target to OFSLL_AdminSever and OFSLL_ManagedServer as on right panel.
3.4 Creating Data Source
- Login to WebLogic Server 12c console (http://hostname:port/console).
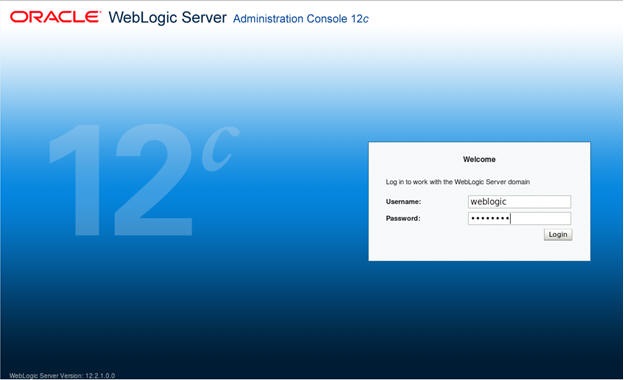
- The following
window is displayed.
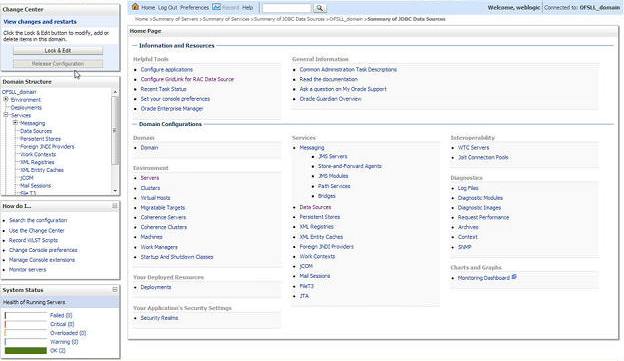
- Click Domain Name > Services > Data Sources.
- The following window is displayed.
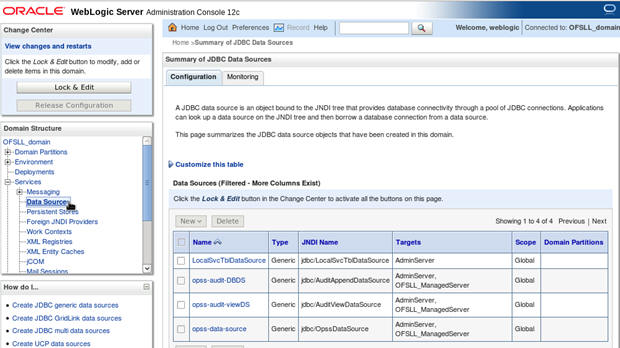
- Click ‘Lock
& Edit’ button on the left panel. Click ‘New’ on
right panel and select Generic Data Source.
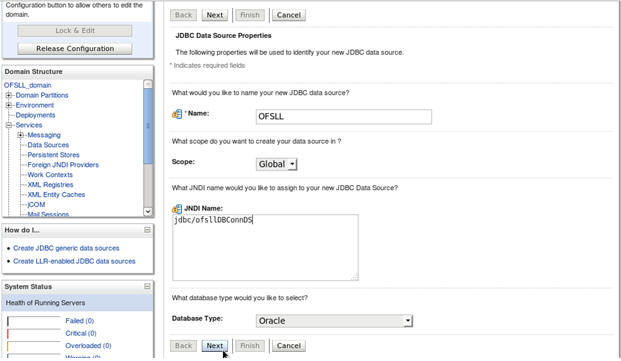
- Enter Data source ‘Name’, JNDI Name as ‘jdbc/ofsllDBConnDS’ and select ‘Oracle’ as Database Type.
- Click ‘Next’. The following window is displayed.
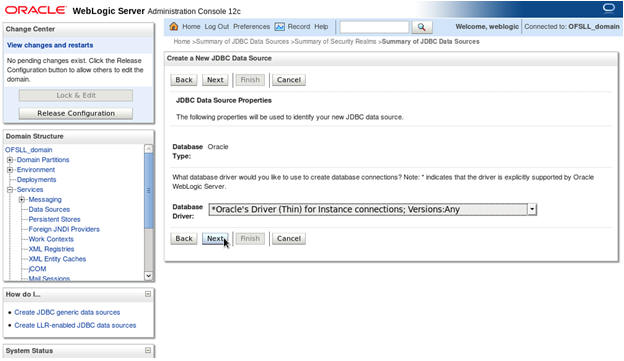
- Select the Database Driver ‘Oracle's Driver(Thin) for Instance connections; Versions:Any’ as shown above.
- Click ‘Next’. The following window is displayed.
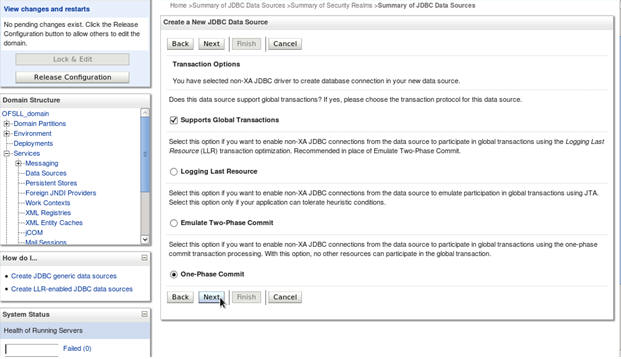
- Click ‘Next’.
The following window is displayed.
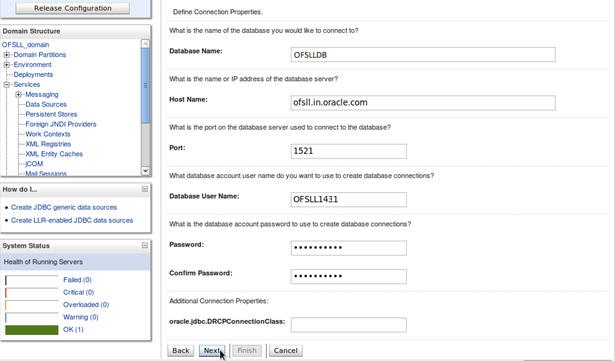
- Enter Database
details click ‘Next’. The following window is displayed.
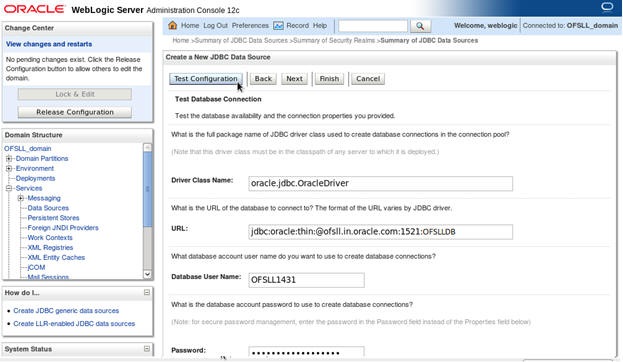
- Click ‘Test
Configuration’. The following window is displayed.
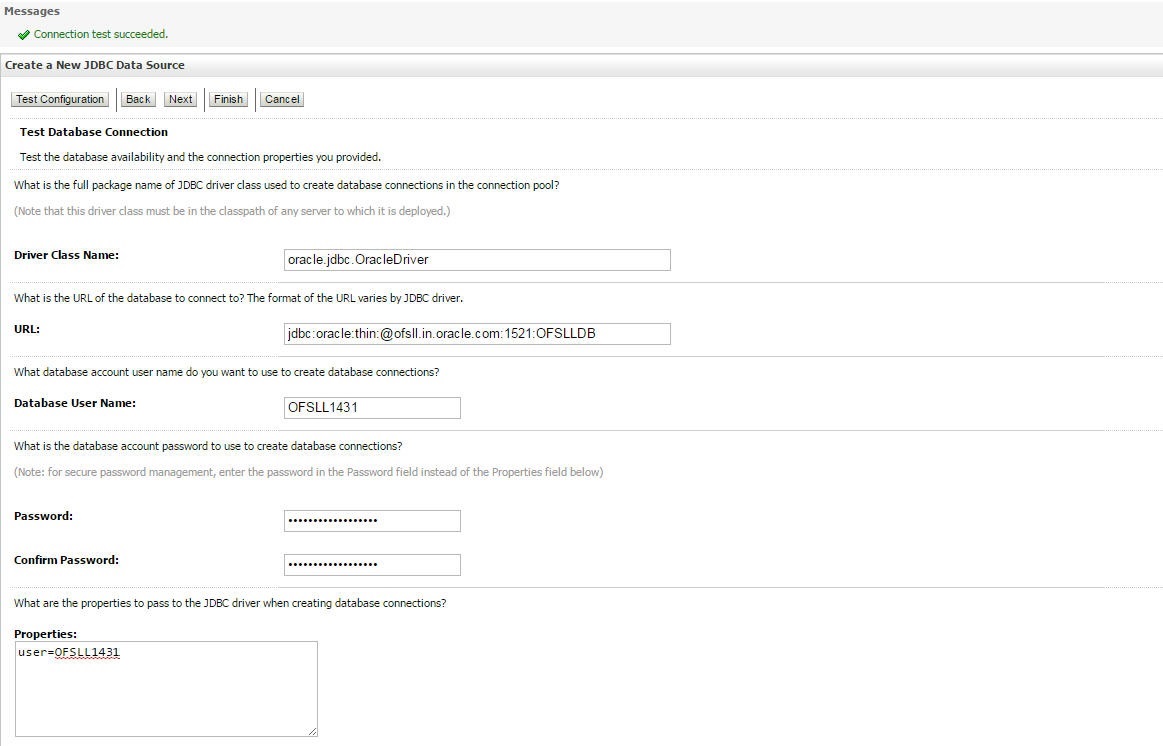
- Displays confirmation
message as ‘Connection test succeeded’. Click ‘Next’.
The following window is displayed.
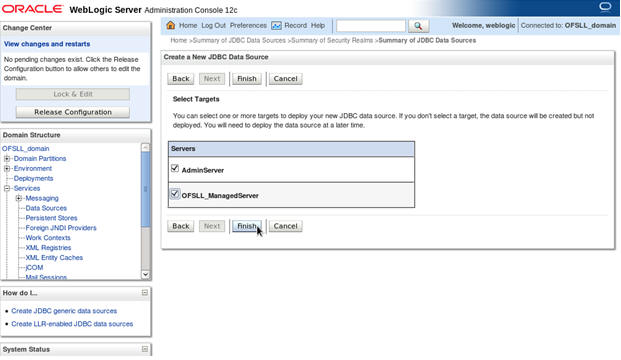
- Select target
Servers ‘AdminServer’ and ‘ManagedServer’ and
click ‘Finish’. The following window is displayed.
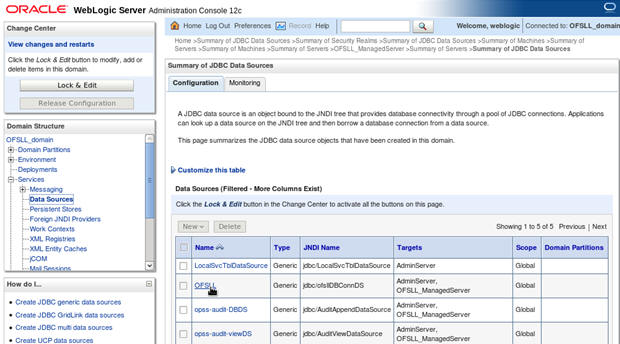
- Click ‘Activate Changes’ on the left panel.
Update the following parameters in JDBC data source connection pool:
- Select Services > Data Sources > select the OFSLL data source > Connection Pool.
- Initial capacity and Maximum capacity is defaulted to 15, if the number of concurrent users are more this needs to be increased.
- Click Advanced button and update the following:
- Inactive Connection Timeout=900
- Uncheck the ‘Wrap Data Types’ parameter for better performance.
- Click ‘Save’.
3.5 Creating SQL Authentication Provider
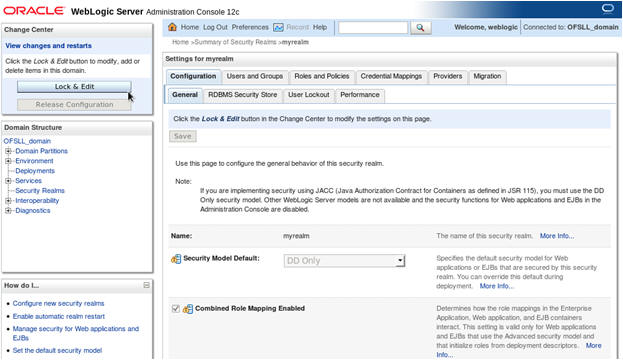
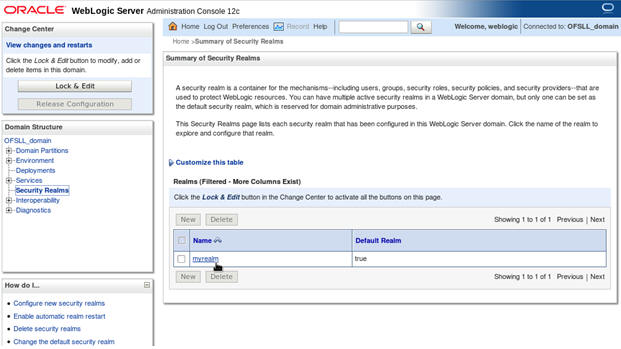
- Login to WebLogic server administration console and click
‘Security Realms’ in left panel. The following window is
displayed.

- Click ‘myrealm’
on right panel. The following window is displayed.
- Click on
Providers tab. The following window is displayed.
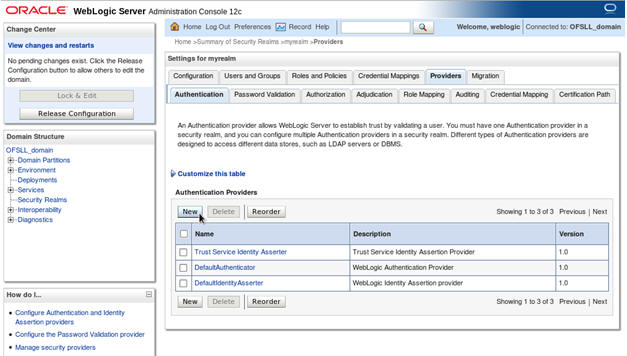
- Click ‘Lock
& Edit’ to unlock the screen and click ‘New’ button
in Authentication Providers sub tab. The following window is displayed.
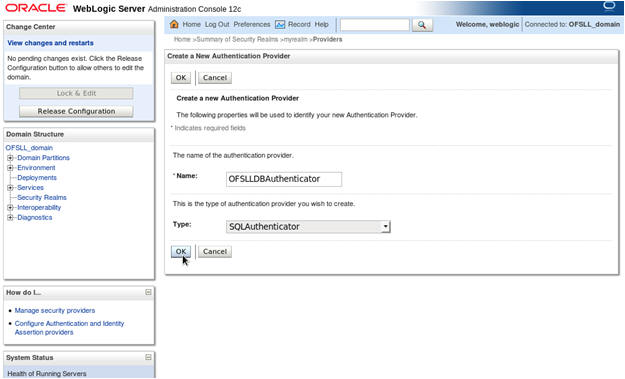
- Create Authentication provider with following values:
- Name: OFSLLDBAuthenticator
- Type: SQLAuthenticator
- Click ‘OK’. The following window is displayed.
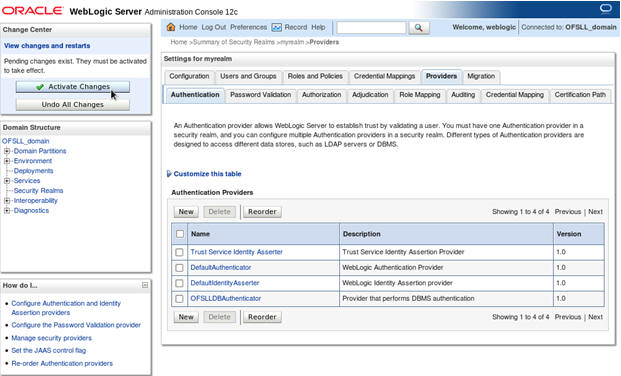
- Click on
‘Activate Changes’. The following window is displayed.
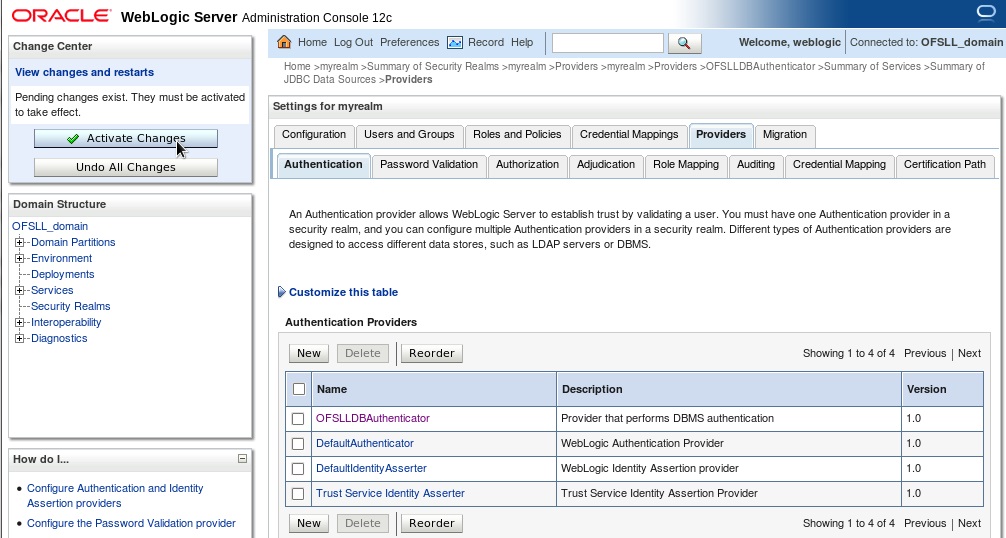
Authentication order should be maintained as mentioned in the above screen. ‘OFSLLDBAuthenticator’ will be displayed as above.
- Click on ‘OFSLLDBAuthenticator’. The following
window is displayed.
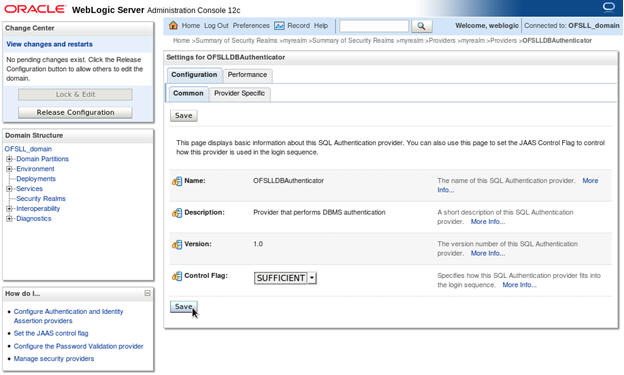
- Select ‘SUFFICIENT’ as the Control Flag and click Save.
- Click Provider Specific sub tab under Configuration tab.
The following window is displayed.
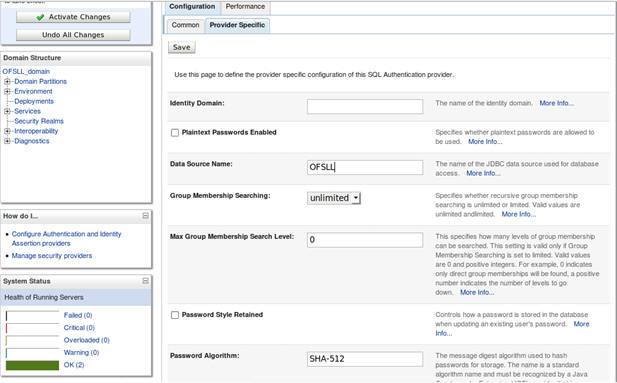
- Specify the following values in corresponding fields:
- Data Source Name: OFSLL
- Password Style Retained: Uncheck
- Password Algorithm: SHA-512
- Password Style: SALTEDHASHED
- Provide the SQL Queries from the column Corresponding SQL Queries
as per OFSLL Tables as given below.
Operation
Default SQL Query from Weblogic
Corresponding SQL Queries as per our Tables
SQL Get Users Password:
SELECT U_PASSWORD FROM USERS WHERE U_NAME = ?
SELECT UAU_USR_PASSWORD FROM USER_AUTHORISATIONS WHERE UAU_USR_CODE = ?
SQL Set User Password:
UPDATE USERS SET U_PASSWORD = ? WHERE U_NAME = ?
UPDATE USER_AUTHORISATIONS SET UAU_USR_PASSWORD = ? WHERE UAU_USR_CODE = ?
SQL User Exists:
SELECT U_NAME FROM USERS WHERE U_NAME = ?
SELECT UAU_USR_CODE FROM USER_AUTHORISATIONS WHERE UAU_USR_CODE = ?
SQL List Users:
SELECT U_NAME FROM USERS WHERE U_NAME LIKE ?
SELECT UAU_USR_CODE FROM USER_AUTHORISATIONS WHERE UAU_USR_CODE LIKE ?
SQL Create User:
INSERT INTO USERS VALUES ( ? , ? , ? )
INSERT INTO USER_AUTHORISATIONS(UAU_USR_CODE, UAU_USR_PASSWORD,UAU_DESC) VALUES(?,?,?)
SQL Remove User:
DELETE FROM USERS WHERE U_NAME = ?
DELETE FROM USER_AUTHORISATIONS WHERE UAU_USR_CODE= ?
SQL List Groups:
SELECT G_NAME FROM GROUPS WHERE G_NAME LIKE ?
SELECT UGR_GROUP_CODE FROM USER_GROUPS WHERE UGR_GROUP_CODE LIKE ?
SQL Group Exists:
SELECT G_NAME FROM GROUPS WHERE G_NAME = ?
SELECT UGR_GROUP_CODE FROM USER_GROUPS WHERE UGR_GROUP_CODE = ?
SQL Create Group:
INSERT INTO GROUPS VALUES ( ? , ? )
INSERT INTO USER_GROUPS(UGR_GROUP_CODE,UGR_GROUP_DESC) VALUES(?,?)
SQL Remove Group:
DELETE FROM GROUPS WHERE G_NAME = ?
DELETE FROM USER_GROUPS WHERE UGR_GROUP_CODE = ?
SQL Is Member:
SELECT G_MEMBER FROM GROUPMEMBERS WHERE G_NAME = ? AND G_MEMBER = ?
SELECT UGM_MEMBER_USR_CODE FROM USER_GROUP_MEMBERS WHERE UGM_MEMBER_GROUP_CODE= ? AND UGM_MEMBER_USR_CODE = ?
SQL List Member Groups:
SELECT G_NAME FROM GROUPMEMBERS WHERE G_MEMBER = ?
SELECT UGM_MEMBER_GROUP_CODE FROM USER_GROUP_MEMBERS WHERE UGM_MEMBER_USR_CODE= ?
SQL List Group Members:
SELECT G_MEMBER FROM GROUPMEMBERS WHERE G_NAME = ? AND G_MEMBER LIKE ?
SELECT UGM_MEMBER_USR_CODE FROM USER_GROUP_MEMBERS WHERE UGM_MEMBER_GROUP_CODE= ? AND UGM_MEMBER_USR_CODE LIKE ?
SQL Remove Group Memberships:
DELETE FROM GROUPMEMBERS WHERE G_MEMBER = ? OR G_NAME = ?
DELETE FROM USER_GROUP_MEMBERS WHERE UGM_MEMBER_USR_CODE= ? OR UGM_MEMBER_GROUP_CODE= ?
SQL Add Member To Group:
INSERT INTO GROUPMEMBERS VALUES( ?, ?)
INSERT INTO USER_GROUP_MEMBERS (UGM_MEMBER_GROUP_CODE,UGM_MEMBER_USR_CODE) VALUES(?,?)
SQL Remove Member From Group:
DELETE FROM GROUPMEMBERS WHERE G_NAME = ? AND G_MEMBER = ?
DELETE FROM USER_GROUP_MEMBERS WHERE UGM_MEMBER_GROUP_CODE= ? AND UGM_MEMBER_USR_CODE= ?
SQL Remove Group Member:
DELETE FROM GROUPMEMBERS WHERE G_NAME = ?
DELETE FROM USER_GROUP_MEMBERS WHERE UGM_MEMBER_GROUP_CODE= ?
SQL Get User Description:
SELECT U_DESCRIPTION FROM USERS WHERE U_NAME = ?
SELECT UAU_DESC FROM USER_AUTHORISATIONS WHERE UAU_USR_CODE = ?
SQLSet User Description:
UPDATE USERS SET U_DESCRIPTION = ? WHERE U_NAME = ?
UPDATE USER_AUTHORISATIONS SET UAU_DESC= ? WHERE UAU_USR_CODE= ?
SQL Get Group Description:
SELECT G_DESCRIPTION FROM GROUPS WHERE G_NAME = ?
SELECT UGR_GROUP_DESC FROM USER_GROUPS WHERE UGR_GROUP_CODE= ?
SQL Set Group Description:
UPDATE GROUPS SET G_DESCRIPTION = ? WHERE G_NAME = ?
UPDATE USER_GROUPS SET UGR_GROUP_DESC= ? WHERE UGR_GROUP_CODE= ?
Provider Name
OFSLLDBAuthenticator
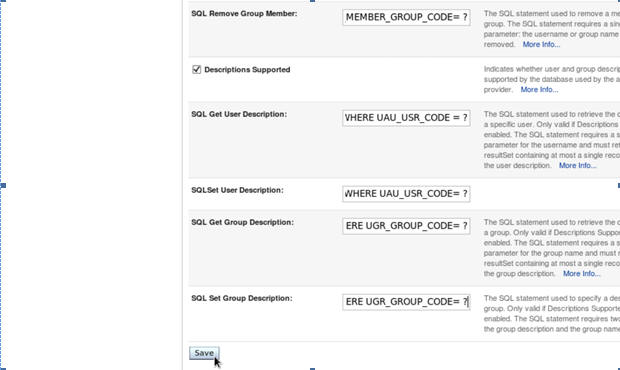
- Click ‘Save’.
Note
Application server needs to be restarted for these changes to take effect.
3.6 Creating User Groups and Users
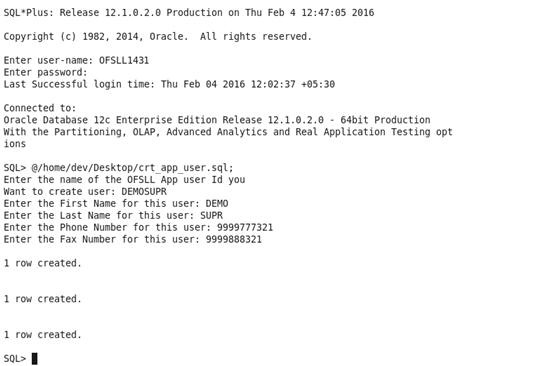
3.6.1 Creating Users
Create an OFSLL application super user to login to the application.
A script is provided in the distribution media in the dba_utils folder to create an user.
Note
By default there are no users created to login to OFSLL application.
Run the script ‘crt_app_user.sql script’ as a OFSLL application owner user.
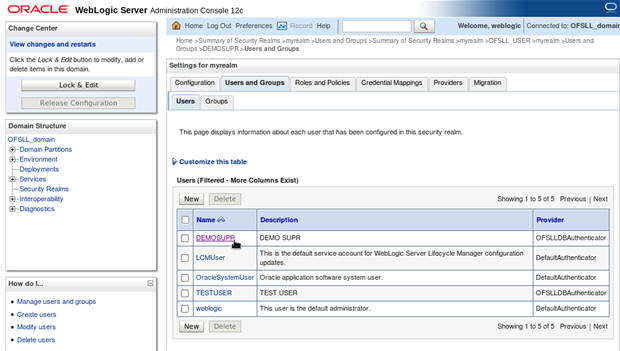
- Login into WebLogic server console.
- Click ‘Security Realms’ on the left panel.
- Click ‘myrealm’ on the right panel..
- Select ‘Users’ tab under Users and Groups.
- If SQLAuthenticator is configured as a Security Provider
for the OFSLL application, the Users are automatically created in weblogic
when created through an application.
3.6.2 Creating User Groups
- Select ‘Groups’ tab under Users and Groups.
- If SQLAuthenticator is configured as a Security Provider
for the OFSLL application, the Groups are automatically created in weblogic
when created through an application.
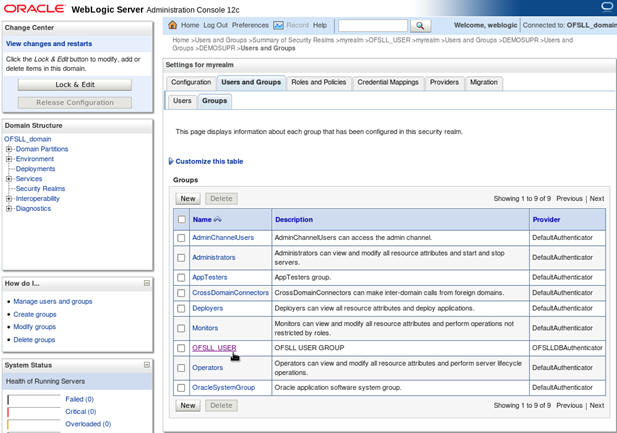
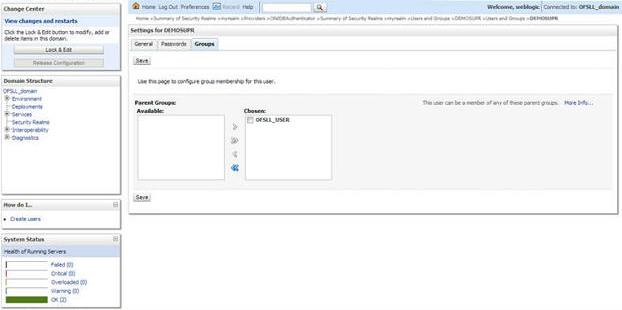
3.6.3 Assigning Users to Groups
The USERS are automatically mapped to default application group - OFSLL_USER.
3.6.4 Resetting password via weblogic console
- Click on ‘User’. Select Passwords tab and enter
new password and confirm password.
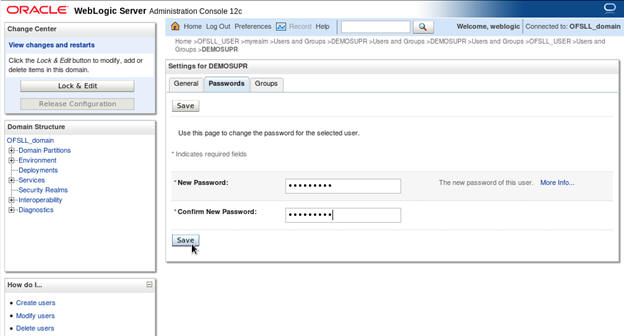
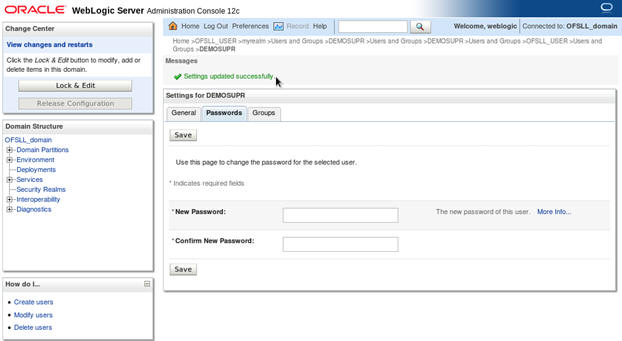
- Click ‘Save’.The
following window displayed.
3.7 Implementing JMX Policy for Change Password
- Login to Oracle WebLogic Server 12c console (http://hostname:port/console)
Note
The Change Password feature uses the JMX Policy configured on the domain. Hence, the AdminServer is required to be up and running to enable this.
- Click Domain > Security > myrealm > Configuration
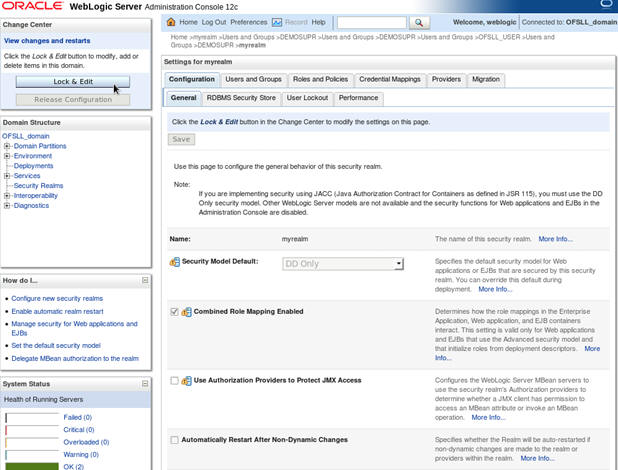
- To enable JMX policy
select the ‘Use Authorization Providers to Protect JMX Access’
check box on the right panel

- Click ‘Save’ and restart the server.
- Re-login to console.
- Click Domain > Security > myrealm > Roles and Policies > Realm Policies
Note
If server is not restarted, JMX Policy Editor option will not appear
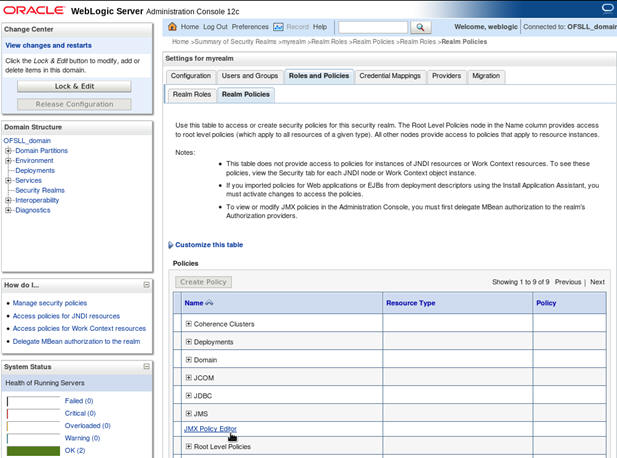
- Click on JMX Policy Editor to configure
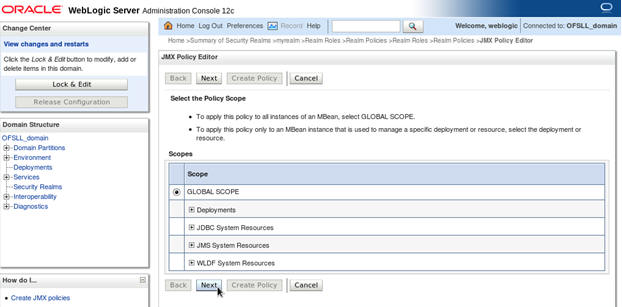
- Select ‘GLOBAL
SCOPE’ and click Next.
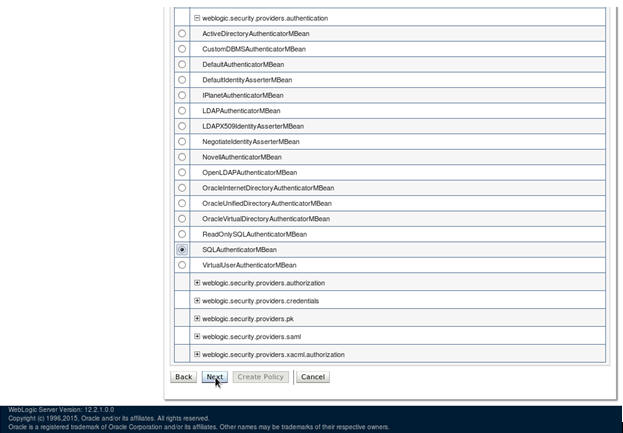
- Select weblogic.security.providers.authentication.
- Select ‘SQLAuthenticatorMBean’. Click ‘Next’.
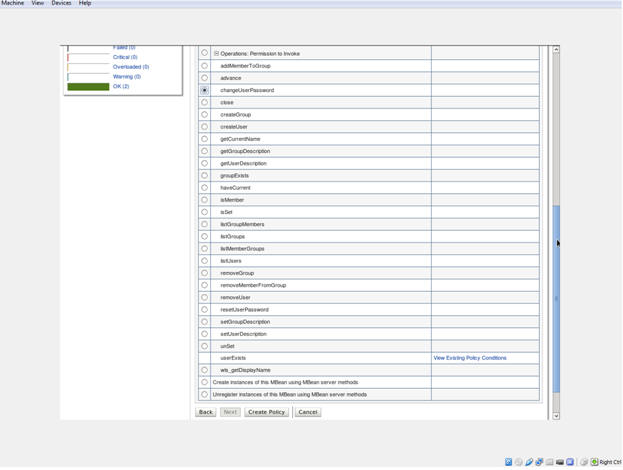
- Expand ‘Operations: Permissions to Invoke’ and select ‘ChangeUserPassword’.
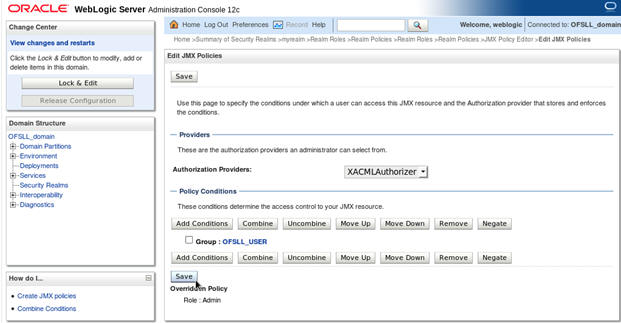
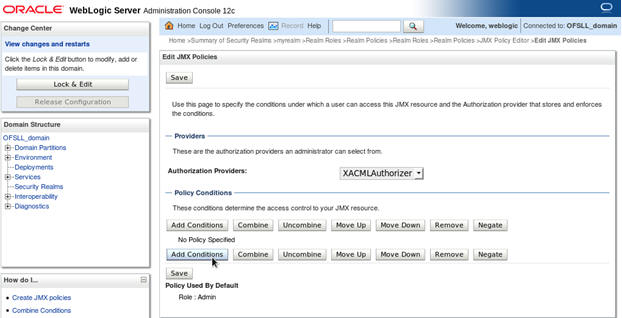
- Click ‘Create Policy’. The following window is displayed for Authorization providers where you can add conditions to setup the policy.
- Click ‘Add Condition’. The below screen will
be displayed.
- For Predicate List,
select Group for configuration. Click ‘Next’.
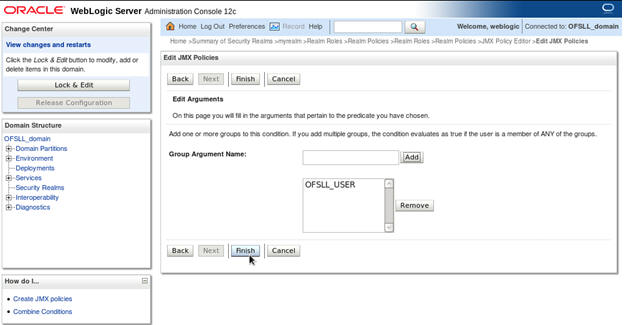
- Select user roles for application.
- Click Finish. Click on Save to complete the configuration.
The following window will be displayed.